|
We learned how to make A-frames at our Permaculture Design Course with F.E.A.S.T. We put together brief instructions on how we made this D.I.Y. low tech tool - it will help you chart the contour lines of the land you are working on. That will help you begin a number of projects like digging swales and building berms to slow, spread and sink water. MATERIALS:
We had a drill and screws on hand, so decided to use these materials to secure the pieces of the A-Frame together. For fun, we did experiment with building it only with twine. It worked, but needed some adjustments. 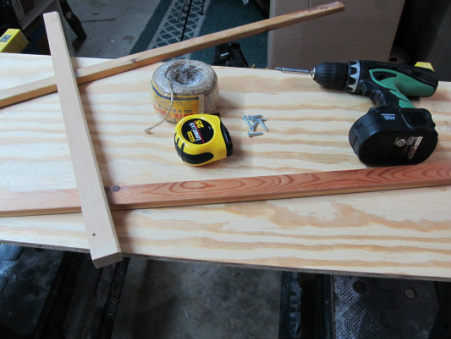 INSTRUCTIONS: 1. Secure the two longer pieces that are exactly the same size at the top with twine, nails or both. Attach the smaller piece about half-way down from the top, creating a big "A" 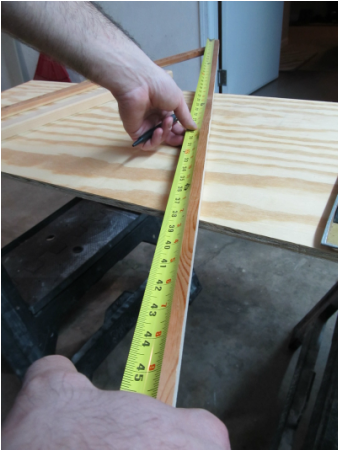 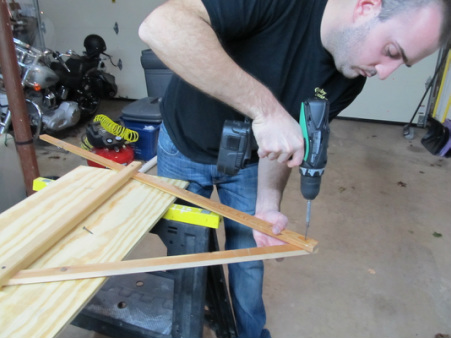 2. Tie the string or twine tightly around the rock or the weight you have for this project. Tie the other end of the string to the top of the A-frame so the weight swings freely when moved. 3. Find the level mark--Hold the A-Frame upright on ground or floor that seems level. Mark where the legs are touching the ground with sticks, leaves, small stones, etc. Hold it still. When the weight stops moving, mark the place where the string touches the crossbar. Turn the A Frame around and repeat. Mark the spot in the exact middle between the two marks you just made. This is your level mark. 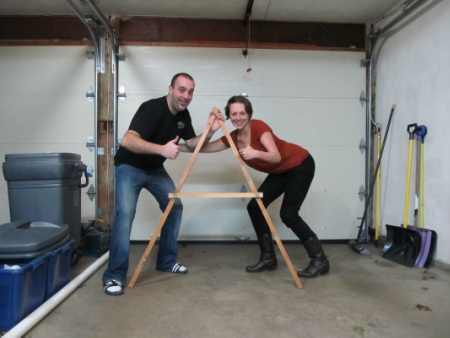 Now you're ready to use your A-Frame to map contour lines!
0 Comments
Leave a Reply. |
SearchCategories
All
Archives
December 2013
|
 RSS Feed

